Valentine’s Day is here and we hope it’s filled with joy, and perhaps, a bit of quilting! We’re thrilled to share exciting news about our new blog, packed with a plethora of new videos and articles, all designed to assist you on your quilting journey.
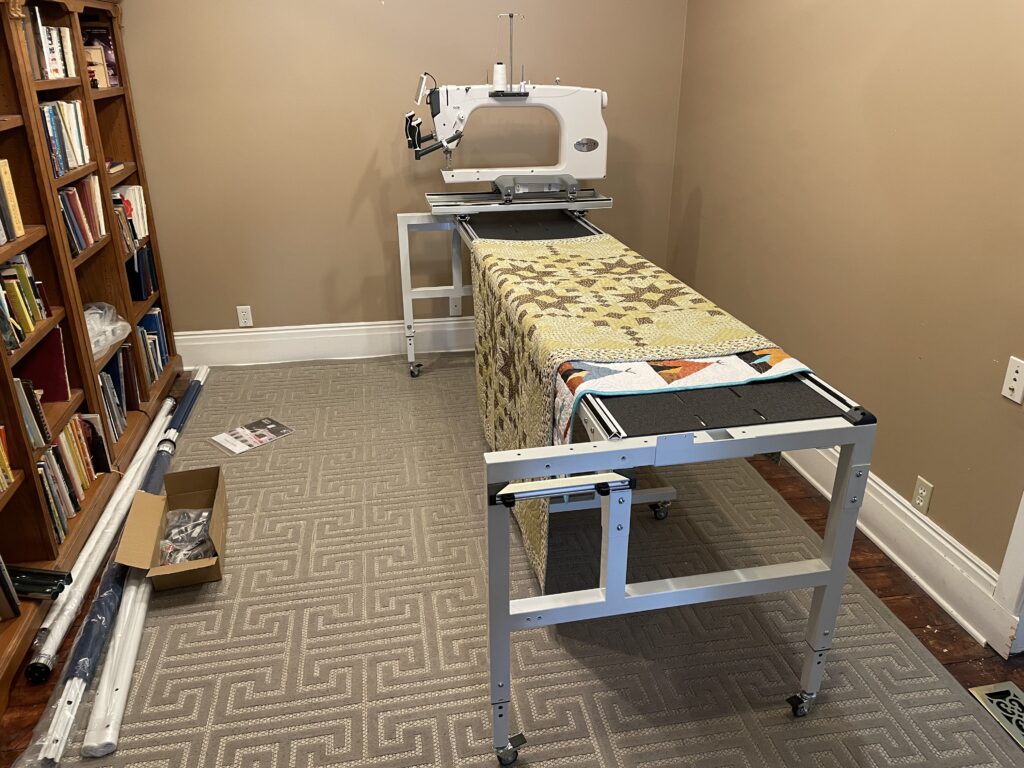
Just wanted to share some exciting news about my brand-new quilting room! It’s kitted out with a top-notch Q’nique 21X Elite and an impressive eight-foot Evolution Elite quilting frame. Having seen Kathy’s setup, I was inspired to create my own creative haven. As I’ve observed, it seems many of us quilters tend to save our own machines for smaller projects, perhaps feeling a bit timid about creating that dream quilt. It’s like we’re great at piecing together a stunning quilt top, but then hand over the quilting process to someone else. I’m pretty good at quilting, but I’m keen to hone my skills with our KathyQuilts training series. My aim? To bravely tackle customer quilts as well as my own!
Looking forward, KathyQuilts is keen on developing more training videos in 2024 to help you conquer those seemingly elusive` techniques. We firmly believe that with enough practice and training, anyone can outshine their local quilting community. It’s true that many pros or shops stick to standard patterns, so where can you go when custom quilting is the perfect way to showcase your quilt’s unique character? Kathy and Lynn Barlow are ready to help you master your machine quilting system, so you can relish the satisfaction of finishing your own quilts!
We’re buzzing with excitement to share a rainbow of quilting techniques with you! Help us shape your learning journey – be it Free-Motion Quilting, Automated Quilting, or even Edge-to-edge quilting with a laser. Got a soft spot for Feathers or other fill patterns? We’ve got you covered! Your feedback will guide our next video creations.
Kickstart your quilting business with us! With Kathy’s 26 years of expertise and over 4,000 customer quilts under her belt, we’re ready to guide you. Learn to partner with local quilt shops, create a profitable part-time venture, dodge common business pitfalls, and attract new customers. Join us to quilt your way to success!
We’re thrilled to announce that all your questions will be answered for FREE, for now! We’re planning a paid subscription and need your help. What do you think would be a fair monthly fee? We value your ideas, they can help us make this subscription worth your while!
Keep quilting!